
Types of propagation Ι Encouraging a spider plant to grow more spiderettes Ι What happens if I leave spiderettes on the plant? Ι Common propagation issues Ι Conclusion
Propagation is a great way to increase your plant collection for free. Propagation methods can vary depending on the parent plant, which we will outline in this article.
What is spider plant?
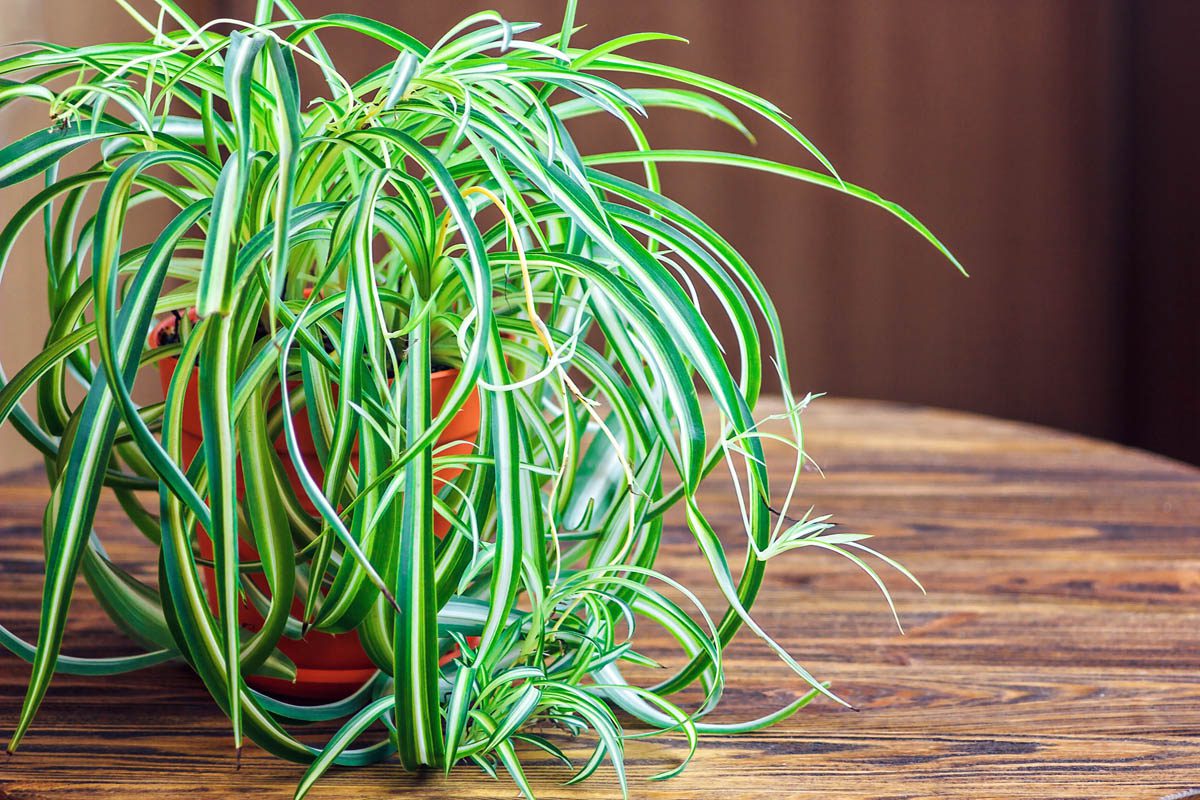
Spider plant (Chlorophytum comosum) is a clump-forming herbaceous perennial that is native to tropical and subtropical Africa. This hardy plant has attractive green and white striped variegated leaves.
Spider plants are a hugely popular houseplant that looks especially attractive when placed in hanging pots, so the strap-like leaves and spiderettes can cascade down the side of the pot.
In addition to their hardy nature and ease of propagation, spider plants are non-toxic to humans and pets, which makes them a safe option for families.
Spiderette formation
Mature plants produce spiderettes (also called plantlets or pups), which are baby spider plants. Spiderettes form on long, arching stems called stolons. The stolon grows outwards from the base of the plant, and as it lenghtens, apical buds develop along its length. Apical buds contain meristematic tissue that differentiates into different plant tissues. At the tip of the stolon, the meristematic tissue starts to differentiate into a baby spider plant by forming leaves and adventitious roots (roots that form from non-root tissue). The spiderette can either be left on the plant or removed and discarded or propagated to create more plants.
Types of propagation
The propagating spider plants are division or rooting spiderettes, either by placing the spiderette attached to the stolon directly the into soil, cutting the plantlet off and planting it into a pot with soil or placing it in glass of water, or removing the plant from its pot and dividing it and planting the divisions.
Propagating spiderettes
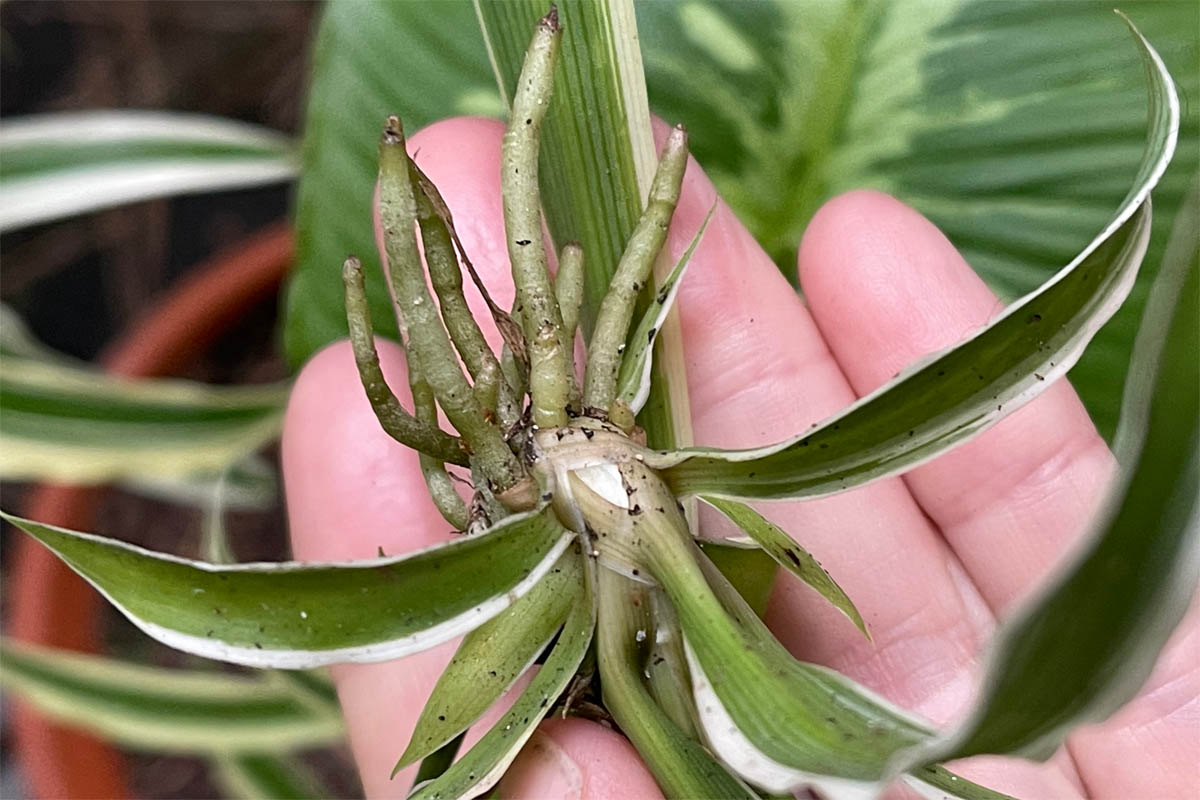
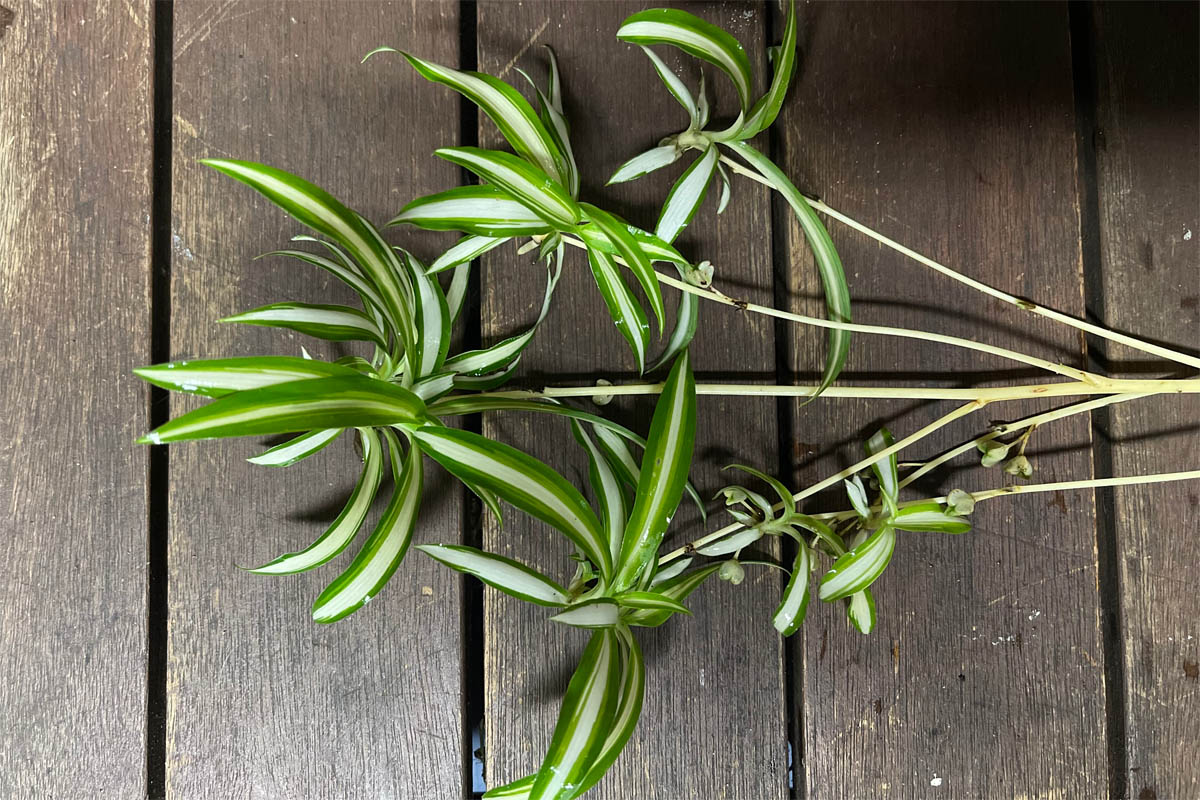
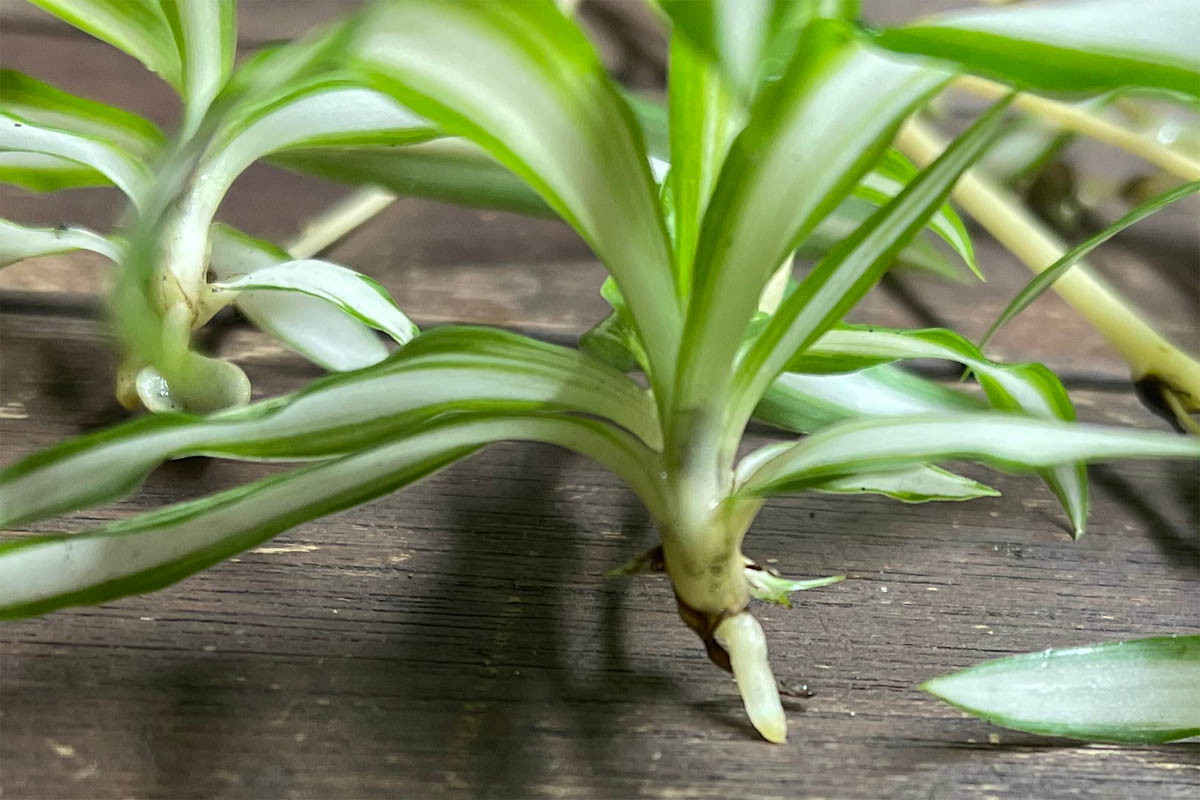
Spiderettes are small offshoots that grow on the spider plant as a part of its natural reproductive process. These offshoots are an essential feature of the spider plant, as they provide an easy method of propagation. Spiderettes emerge from stolons or runners, which are long, thin stems that grow from the parent plant. The spiderette consists of a small rosette of leaves, and as it matures, roots develop. In the wild, as the spiderette grows, gravity pulls it to the ground, where it will take root.
Spiderettes can be placed in water or soil, the method for both is almost the same. I prefer to plant directly into soil as the roots should already be established and therefore water rooting isn’t necessary. However, water propagation can be beneficial if you have a plantlet without an established root system. If the parent plant is yours, you can wait for roots to develop, if you’ve been given a plantlet without roots, water propagation is the way to go.
Method:
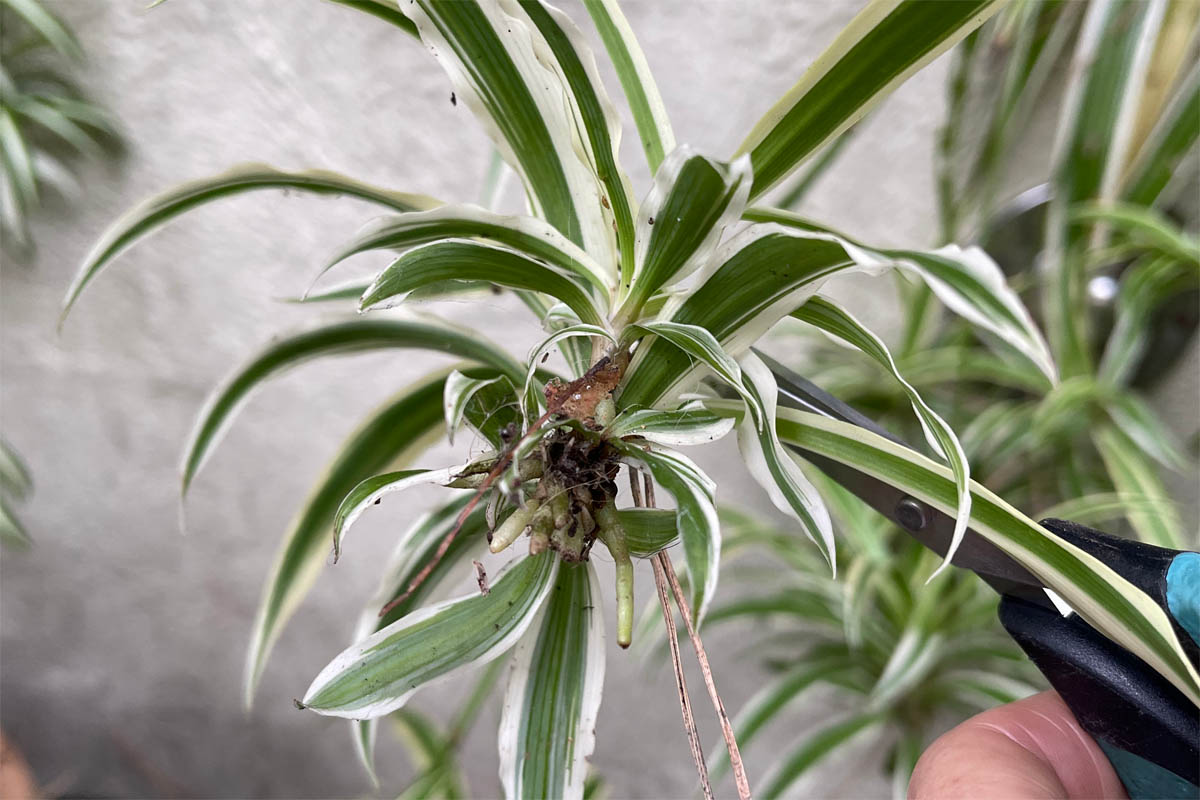
Select healthy spiderettes, with a visible root system.
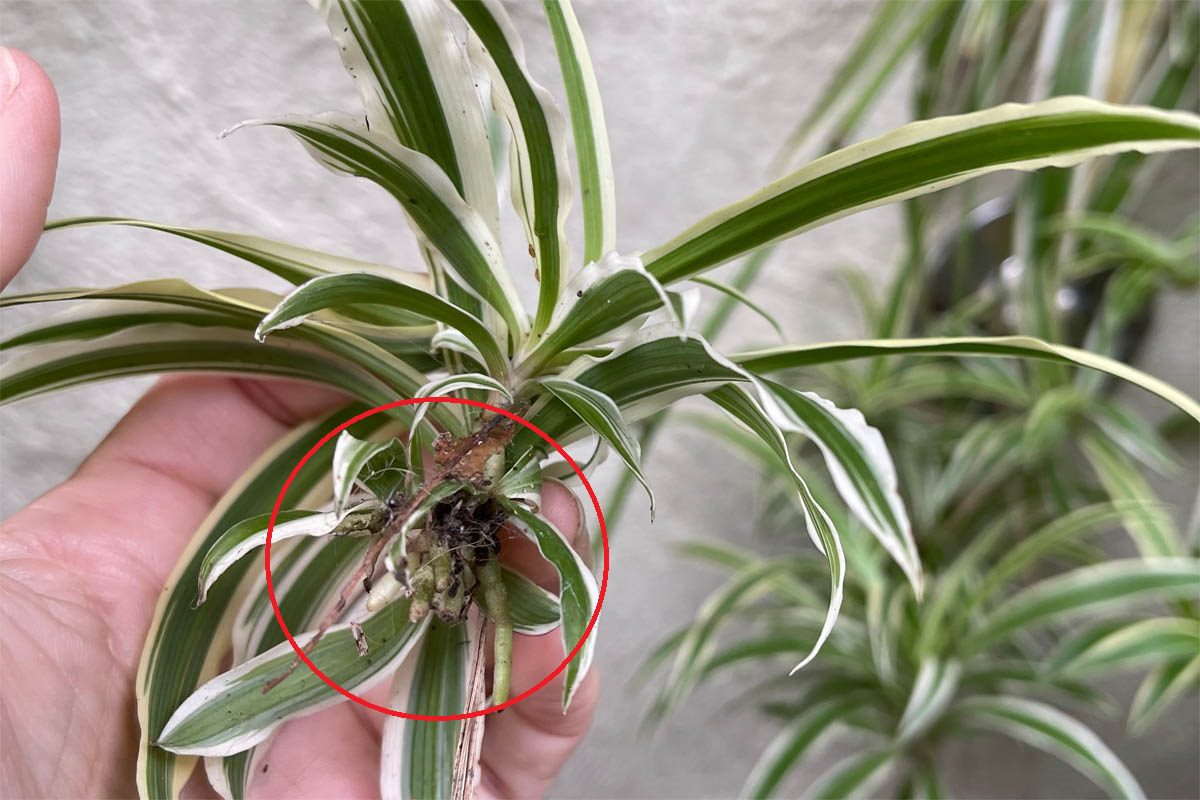
Snip the plantlet from the runner, where you snip is unimportant, I’d snip it as close to the plantlet as possible.
Prepare a pot with premium potting mix and use your finger to make a hole wide enough to fit the plantlet.
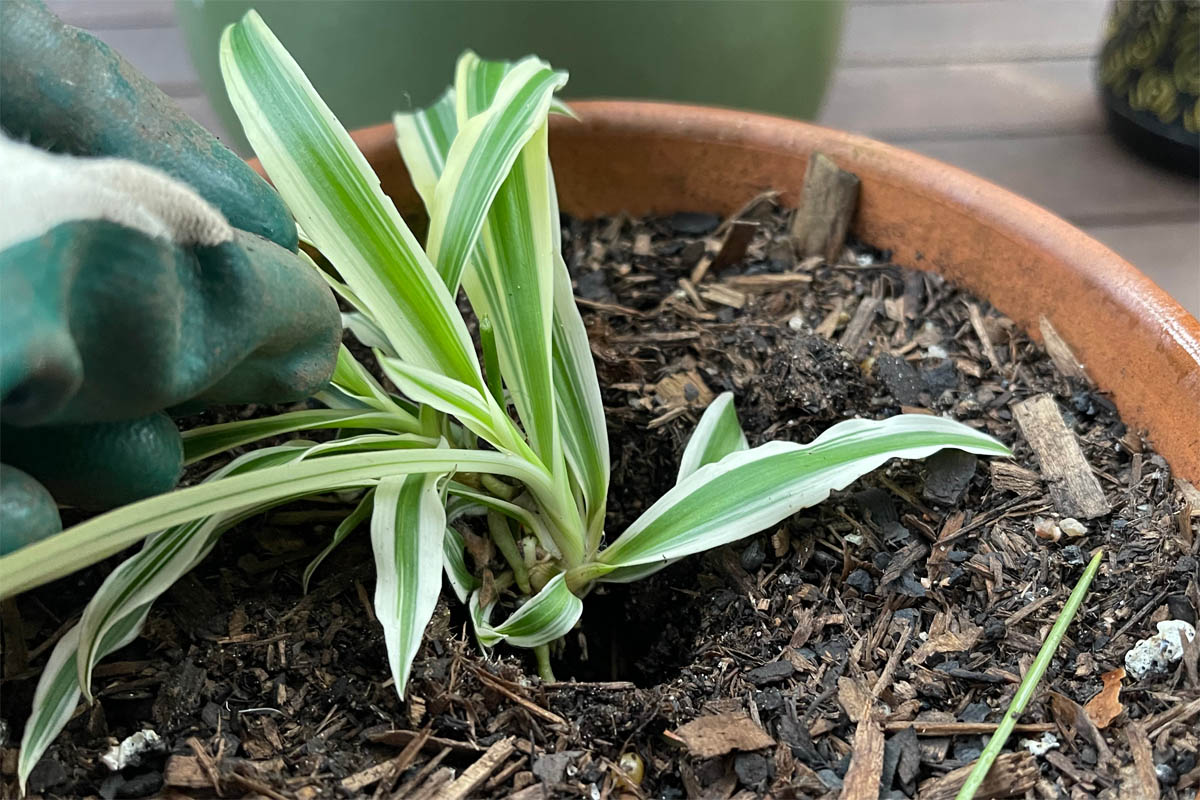
Backfill to ensure the plantlet roots are covered and press down to remove any air pockets.
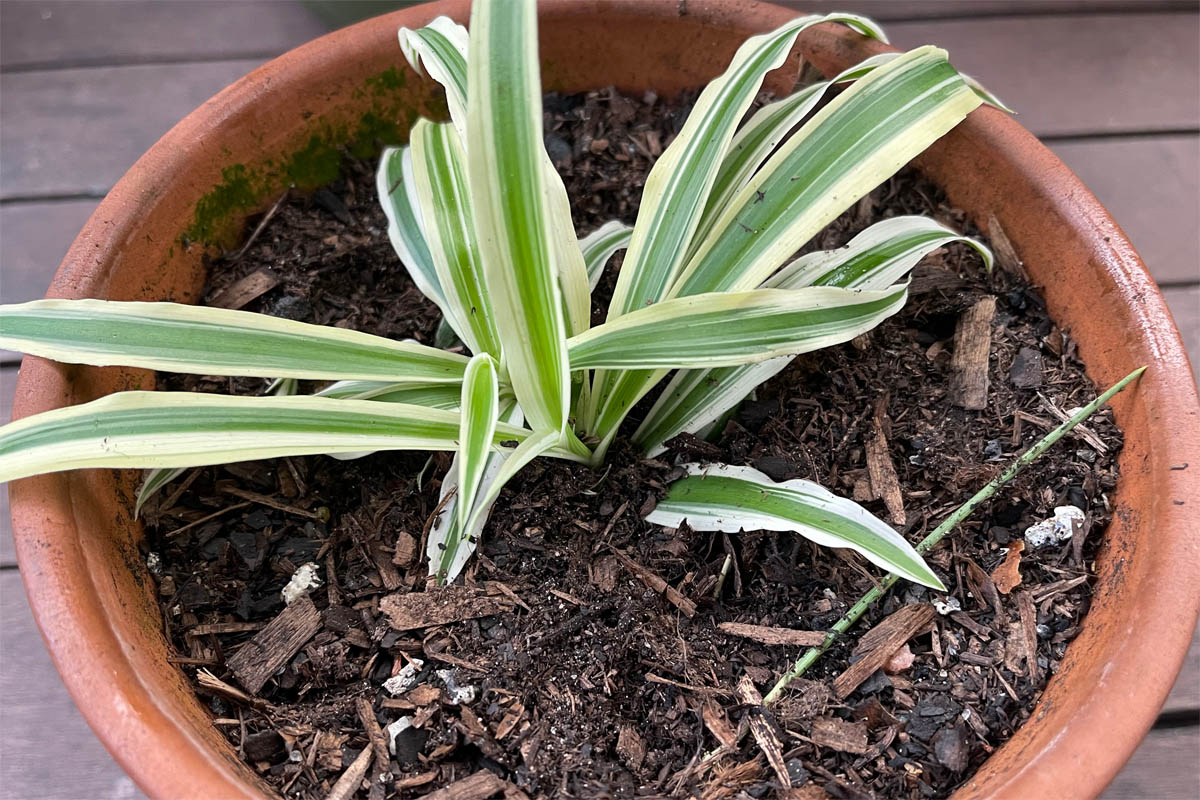
Ensure the soil remains moist but not saturated.
Notes:
Root systems:Spiderettes that do not have an established root system typically require 2 to 3 weeks to develop roots. During this period, it is essential to provide proper care, including adequate moisture, light, and warmth, to promote healthy root growth and ensure successful establishment.
Water propagation: If propagating in water, place the plantlet into a glass of water on a windowsill. It should receive bright but indirect light. Roots should develop within 2 to 3 weeks, it may take longer during winter. Once a healthy root system has developed, transfer the plant to a prepared pot with soil. Spider plants grow better in soil than water as soil contains more nutrients.
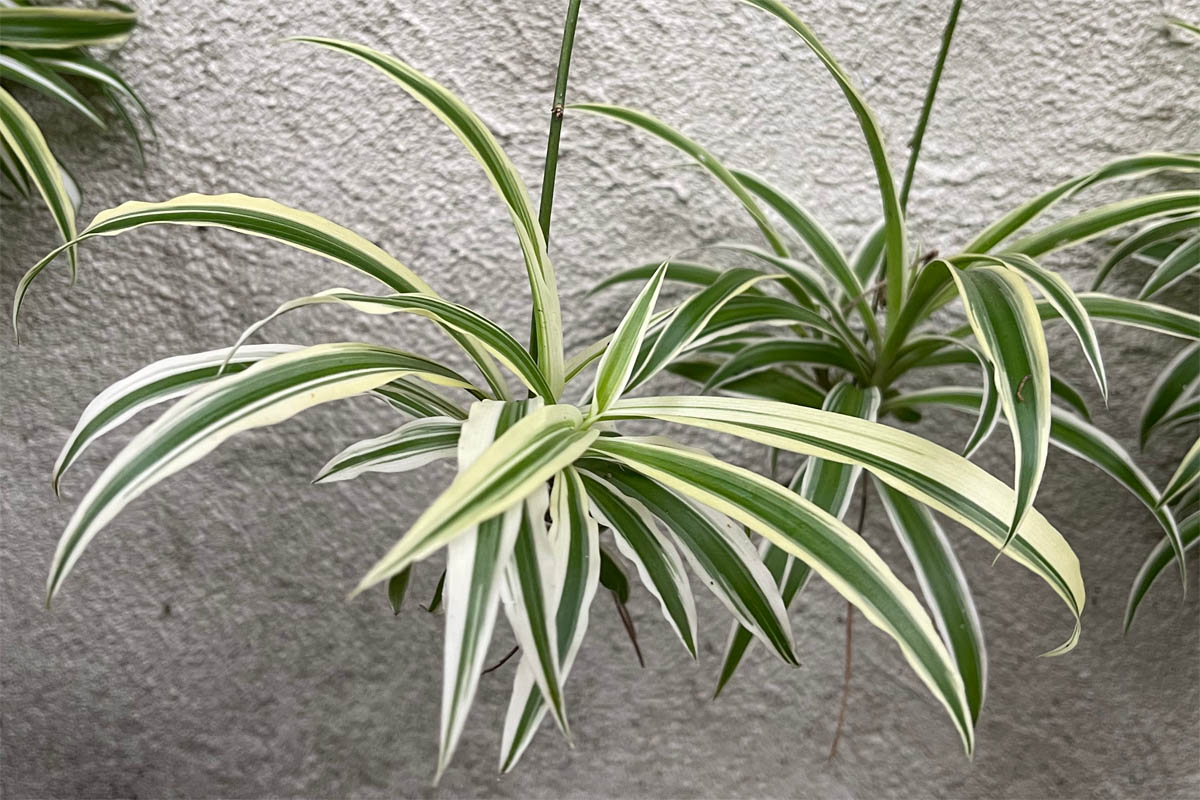
What size should the plantlet be before you cut it off?Spiderettes should be around 10 cm (4 inches) before cutting, this will ensure the plantlet has developed roots, which will speed up the propagation process.
Division
If there are no spiderettes on your mature spider plant, you will have to divide it instead. This method requires a little more work than the plantlet method. Always wear gardening gloves when handling soil or potting mix.
Method
- Water the spider plant thoroughly a few hours before dividing it to ensure the roots are well-hydrated.
- Carefully remove the plant from the pot, take care to not damage the delicate roots.
- Examine the root ball for natural divisions or clusters of leaves with their own root system.
- Use your hands to gently separate the rootball into natural divisions.
- Place the individual divisions into a freshly prepared pot with a premium potting mix. The roots should be completely below the soil.
- Water in well.
- Place the plants in bright but indirect light.
The divided sections should establish themselves in a few weeks as healthy, independent plants. Monitor their growth and adjust watering and care as needed to ensure optimal development.
Encouraging a spider plant to grow more spiderettes
A happy and healthy spider plant will naturally produce platelets when it is large enough.
- Always select a premium potting mix. Premium potting mixes are made from quality ingredients and contain a slow-release fertiliser that will feed the plant.
- Plant in a pot that is 2.5 cm (1 inch) wider than the root ball. A hanging planter is recommended, to allow the arching leaves, stolons and spiderettes to naturally cascade down.
- Spider plants prefer bright but avoid direct light which will scorch the leaves. Having said that, the spider plants featured in this article are located in an east-facing position (which receives a small amount of morning light), in front of large bamboo plants, so they don’t receive optimal light.
- Spider plants have moderate light requirements, it is better to under water than over water which could lead to root rot. I have found spider plants to be quite forgiving. They will wilt when the soil is too dry, but quickly recover once they have received a drink.
- Water your spider plant when the top 2.5 cm (1 inch) is dry. The frequency of watering will vary depending on the heat and the season. Water more often during hot weather and less often during cool weather. As a guide, I water my potted spider plant twice a week in the summer and once a week during the cooler months.
- Fertilise your spider plant with a liquid or slow-release fertiliser. Always follow the instructions on the pack. Spider plants do best with a balanced fertiliser of 20-20-20. That is equal parts of nitrogen, phosphorous and potassium).
What happens if I leave spiderettes on the plant?
Should you cut the spiderettes off the parent plant? Spiderettes left on the parent plant will continue to grow and develop their own root system. They are able to draw nutrients and water from the parent plant via the stolon to which they are connected. Leaving spiderettes on a spider plant is not harmful to the parent plant.
To remove the spiderettes, simply snip the stolon with the plantlet attached as close to the parent plant as possible. You can either discard them or propagate them to increase your plant collection.
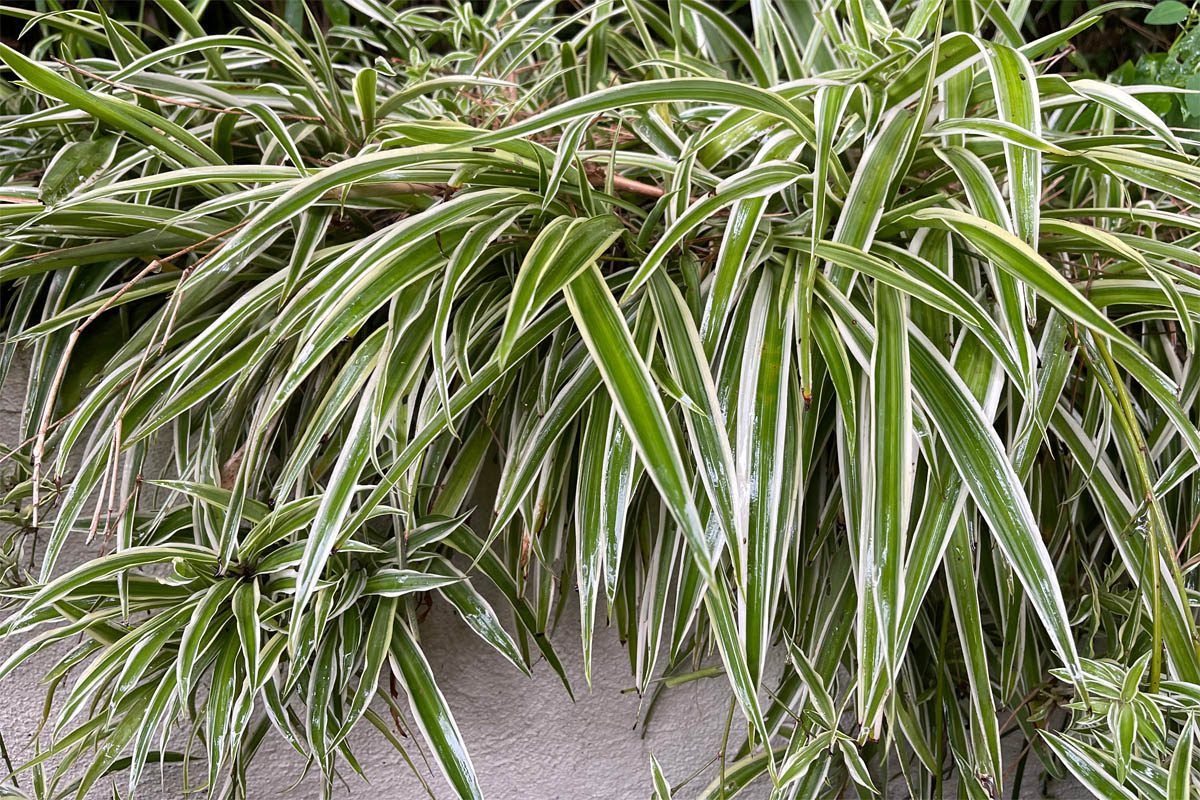
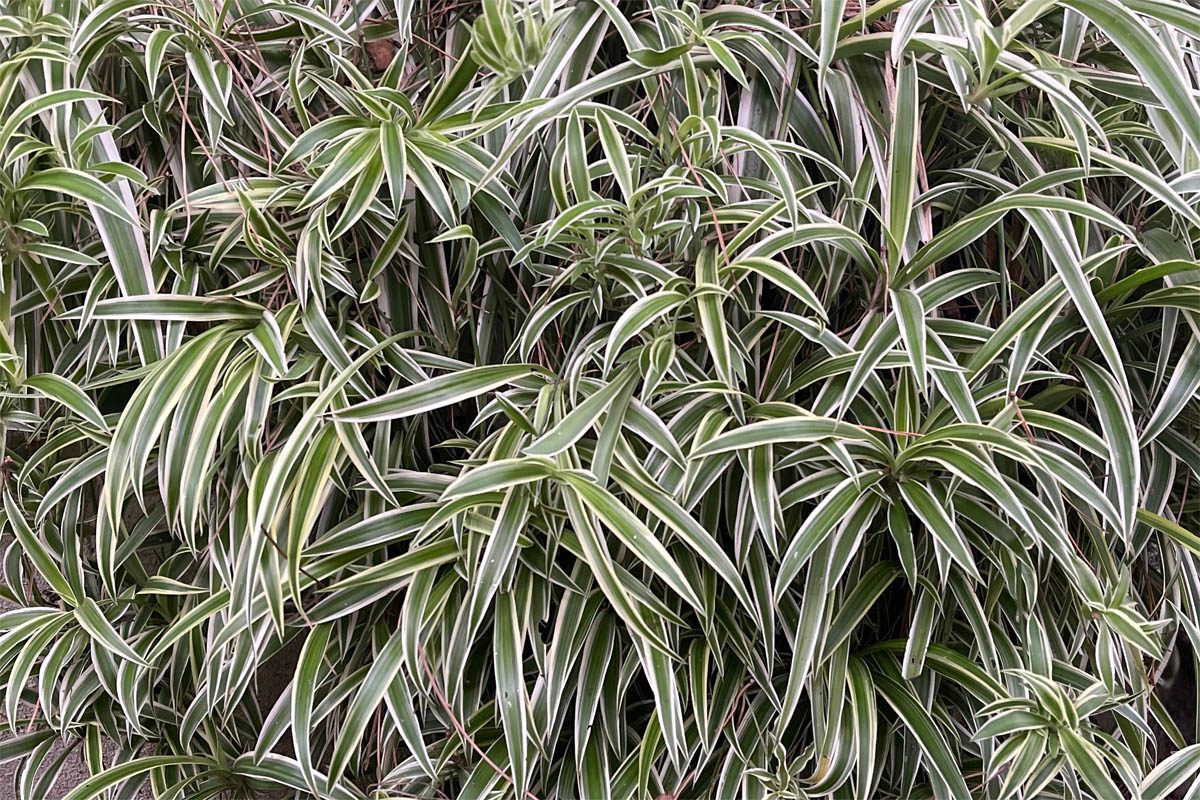
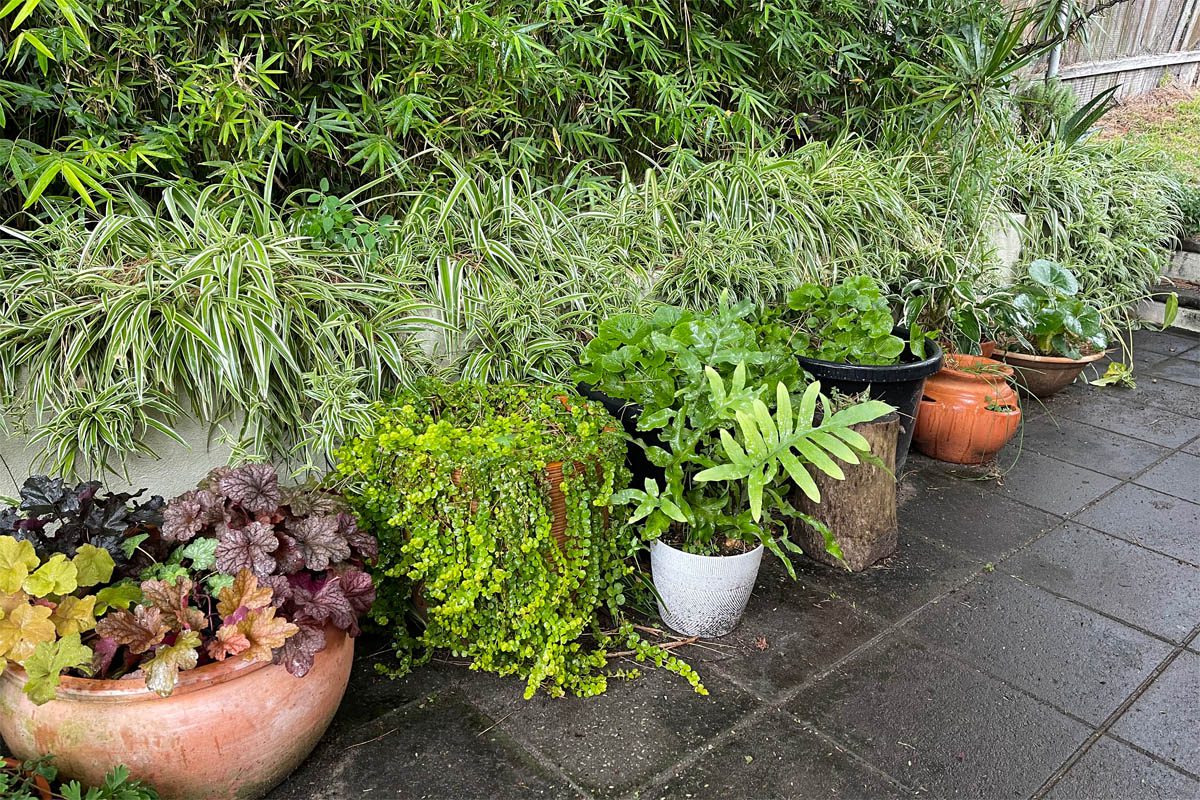
If the plantlet roots come into contact with soil, they will establish themselves as an independent plant in the ground. Under the right conditions, plants can continue to grow and form a large mass of spider plants and spiderettes. The image below of my spider plants shows just how much they can spread. This collection came from two purchased spider plants I had to move outside because the cats kept chewing and damaging them (they’re non-toxic).
In some cases, if the roots of a spiderette come into contact with the soil, they will establish themselves in the ground, forming a new, independent plant. This can lead to a tangled, dense growth of spider plants, as multiple plants share the same space and resources.
Common propagation issues
Spider plants are one of the easiest plants to propagate and care for. However, sometimes problems develop with newly propagated plants.
Root rot:
Root rot can develop if the plant is overwatered. When soil becomes waterlogged, the excess water fills the spaces between soil particles that would otherwise contain air. These air pockets are essential for plant roots, as they provide the oxygen necessary for root respiration and nutrient uptake. As the roots are unable to obtain enough oxygen, they slowly suffocate.
Slow or stunted growth:
Growth problems can develop for several reasons. Inadequate light, insufficient nutrients or unsuitable temperature levels. Plant in bright but indirect light, such as a short distance from a window. Use a balanced fertiliser during the active growing season (spring and summer), and maintain temperatures between 18°C to 24°C (18°C to 24°C).
Yellowing or browning leaves:
Yellowing or brown leaves can occur due to under-watering or too much sunlight which will scorch the leaves. Fertilise with a balanced fertiliser and repot once every one or two years in a fresh potting mix.
Conclusion
- Spider plant propagation is easy via division or cutting spiderettes from the parent plant and placing them in soil or water.
- It can take 6 – 12 months for the plant to reach a good size after propagation and up to two years before it is large enough to produce spiderettes.
- Propagating plants is a great way to increase your plant population and provides free plants to keep or share with friends and family. Other easy-to-propagate plants include Boston Fern, String of Pearls, Snake plant, ZZ plant, Pothos, Dieffenbachia, Mini Monstera, Syngonium and Peace Lily.
- I recommend always keeping a few plastic pots from purchased plants as well as a collection of terracotta pots and potting mix so that you are always ready to propagate.
Julia is a writer and landscape consultant from Wollongong with a love of horticulture. She had been an avid gardener for over 30 years, collects rare variegated plants and is a home orchardist. Julia is passionate about learning and sharing her knowledge of plant propagation and plant toxicology. Whether it’s giving advice on landscape projects or sharing tips on growing, Julia enjoys helping people make their gardens flourish.
 Toxic to Dogs?")

 Toxic to Cats?")
